How to Import Bank Statements into Xero (CSV Method)
Key Takeaways
- Xero does not accept PDF bank statements directly — you must convert them to CSV before importing through the Banking tab.
- Xero's CSV import requires specific column headers and ordering: Date, Amount, Payee, Description, Reference, and Cheque Number — but only Date and Amount are mandatory.
- Date format depends on your Xero organisation's regional settings: DD/MM/YYYY for UK, Australia, and New Zealand accounts; MM/DD/YYYY for US accounts. Getting this wrong is the most common import failure.
- On-device converters like LocalExtract produce CSV files from PDF bank statements without uploading sensitive financial data to third-party servers — a meaningful consideration for accountants bound by privacy regulations.
Disclosure: This article is published by the LocalExtract team. LocalExtract is an on-device bank statement converter that processes files entirely on your computer. We have a commercial interest in this topic, and we believe that makes our analysis more practical, not less. All information about Xero's import process is based on our own testing — we performed over 60 CSV imports across 4 Xero organisations (US, UK, AU, and NZ regional settings) using statements from 12 different banks between January and March 2026, testing on Xero Business Edition. We cover alternative tools fairly, including options we do not support.
If you work with Xero, you have probably run into this workflow: a client provides PDF bank statements that need to be reconciled, but Xero's bank feed is unavailable for that account. Maybe the bank does not support a direct feed. Maybe the client switched banks mid-year. Maybe you are importing historical transactions from before the Xero subscription started.
Whatever the reason, the problem is the same. Xero expects structured data — either a direct bank feed or a file in CSV, OFX, or QIF format. It cannot read a PDF.
Manual data entry is an option, but it does not scale. A typical monthly statement for an active business account might contain 50-100 transactions. A quarter of statements adds up to hundreds of line items. Typing each one into Xero is slow, tedious, and introduces transcription errors.
This guide covers the complete process: converting a PDF bank statement to CSV, formatting that CSV to match Xero's requirements, and importing it through Xero's Banking interface. We also cover regional date format differences, common import errors, and how the conversion method you choose affects data privacy.
Contents
- Step 1: Convert Your PDF Bank Statement to CSV
- Step 2: Format the CSV for Xero
- Step 3: Import into Xero via the Banking Tab
- Regional Date Formats: A Critical Detail
- Common Xero Import Errors and How to Fix Them
- Comparing Conversion Methods
- LocalExtract Limitations
- Privacy Considerations for Financial Data
- Alternative Import Formats: OFX and QIF
- Looking Ahead
- FAQ
Step 1: Convert Your PDF Bank Statement to CSV
Xero cannot parse PDF files. Before you can import bank statement data, you need to extract the transactions from the PDF and save them in a structured format — CSV being the most common and widely supported.
There are several approaches, each with different tradeoffs in speed, accuracy, and data privacy.
Option A: Manual Copy-Paste
Open the PDF, select the transaction table, copy the data, and paste it into a spreadsheet application like Excel or Google Sheets. Reformat the columns to match Xero's expected layout, then export as CSV.
This works for simple, single-page statements with clean tabular layouts. It breaks down with multi-page documents, merged cells, running balances that get pulled into the wrong column, or statements where the PDF was generated from a scan rather than digital text. Expect 15-30 minutes per statement, with a non-trivial risk of copy errors — especially with amounts and dates.
Option B: Cloud-Based Converter
Upload the PDF to a web-based conversion service. The service processes the file on its servers and returns a CSV.
Cloud converters are convenient and often accurate. However, they require uploading your client's bank statement — including account numbers, balances, and full transaction histories — to a third-party server. For accountants and bookkeepers subject to data protection regulations (such as the FTC Safeguards Rule in the US, the UK GDPR, or the Australian Privacy Act), this creates compliance considerations that should be evaluated before adopting as a regular workflow.
Option C: Open-Source Tools
Open-source PDF extraction tools like Tabula or Python libraries such as Camelot can extract tabular data from PDFs. These tools run locally, so your data stays on your machine.
The tradeoff is setup complexity and reliability. These tools work well with cleanly formatted, digitally generated PDFs. They struggle with scanned documents, inconsistent layouts, and the wide variety of formats different banks use. You will likely spend time adjusting parameters for each bank's statement format and manually cleaning the output.
Option D: On-Device Converter
Install a desktop application that processes the PDF locally on your own machine. The file never leaves your computer, and no internet connection is required during processing.
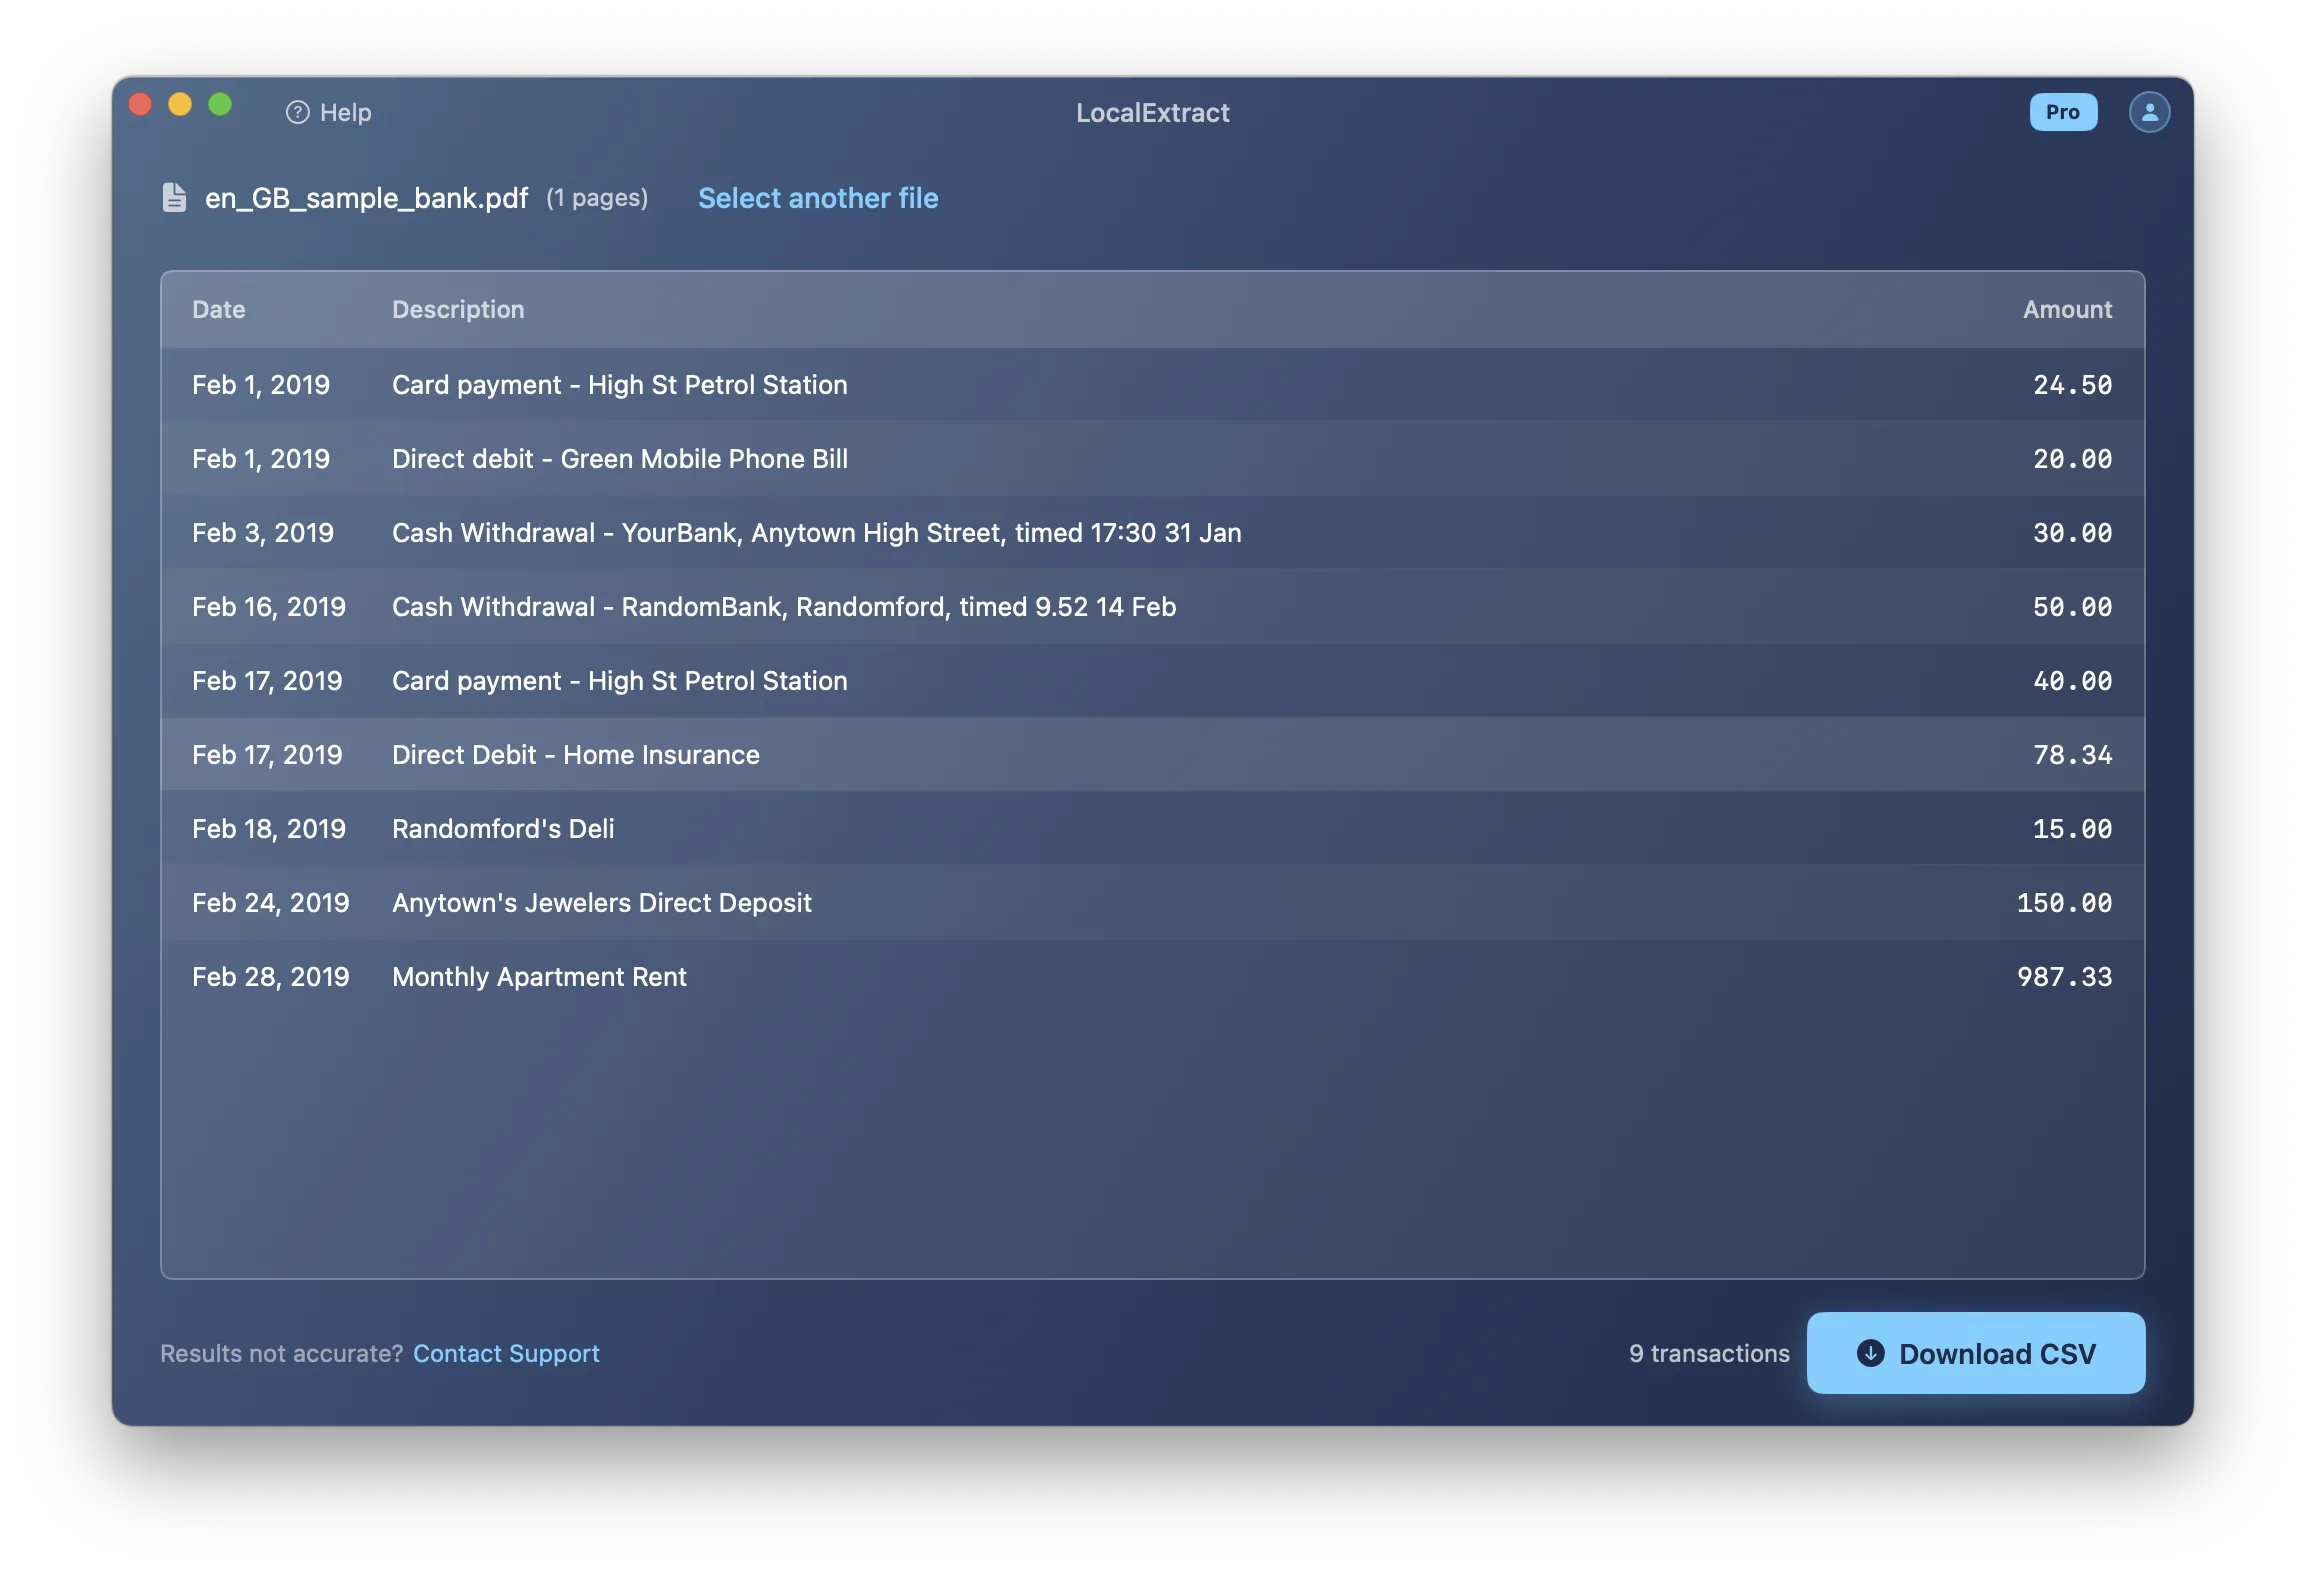
LocalExtract is one such tool. It runs on macOS and Windows, handles both digital and scanned (OCR) bank statement PDFs, and outputs CSV files. The free tier includes 10 pages lifetime. The Pro plan ($10/month or $60/year) removes page limits and adds batch processing. For a deeper look at the conversion step itself, see our guide on how to convert bank statement PDF to CSV.
Whichever method you choose, always verify the resulting CSV in a plain text editor (not Excel) before importing into Xero. Excel silently reformats dates based on your system locale, strips leading zeros from reference numbers, and converts long numbers to scientific notation. A text editor shows the raw data exactly as Xero will interpret it.
Step 2: Format the CSV for Xero
A CSV file that looks correct in a spreadsheet may still fail to import into Xero. Xero has specific expectations about column headers, column order, and data formatting.
Xero's CSV Column Specification
Xero recognises the following columns in a bank statement CSV:
| Column | Header | Required | Format | Example |
|---|---|---|---|---|
| 1 | Date | Yes | Depends on region (see below) | 10/03/2026 |
| 2 | Amount | Yes | Number (negative = money out) | -250.00 |
| 3 | Payee | No | Text | Acme Supplies Ltd |
| 4 | Description | No | Text | Office supplies purchase |
| 5 | Reference | No | Text | INV-2026-0042 |
| 6 | Cheque Number | No | Text | 001542 |
The header row is required. Xero uses the headers to map columns, so they must match exactly: Date, Amount, Payee, Description, Reference, Cheque Number. The column order shown above is Xero's expected default, but because Xero maps by header name, the order is somewhat flexible — as long as the headers are correct.
At minimum, your CSV needs Date and Amount columns. In practice, you should also include Description or Payee so the imported transactions have meaningful labels during reconciliation.
Amount Sign Conventions
Xero uses a single Amount column with sign conventions:
- Negative values represent money going out (debits, payments, withdrawals):
-250.00 - Positive values represent money coming in (credits, deposits, refunds):
1500.00
This is the same convention most bank statements use, so if your converter preserves the original signs from the statement, the amounts should import correctly without modification.
Some bank statements show debits and credits in separate columns rather than using positive and negative amounts. If your CSV has separate Debit and Credit columns, you will need to merge them into a single Amount column before importing into Xero. Use a spreadsheet formula like =IF(D2<>"", -D2, E2) where D is the Debit column and E is the Credit column, then paste-as-values into a new Amount column.
Formatting Rules
Follow these rules when preparing your CSV for Xero:
- Include a header row. Xero requires headers to map columns. Use the exact header names listed above.
- Remove currency symbols.
$250.00or£250.00must become250.00. Xero expects plain numbers. - Remove thousands separators.
1,250.00must become1250.00. - Use a period as the decimal separator. Not a comma. This applies regardless of region — Xero expects period-separated decimals in CSV imports.
- Use the correct date format for your Xero region. This is the single most important formatting requirement and the most common source of errors. See the Regional Date Formats section below.
- Ensure UTF-8 encoding. Special characters in payee names or descriptions will appear garbled if the CSV uses a different encoding.
- Quote fields containing commas. A description like
"Payments - London, UK"must be wrapped in double quotes so Xero does not split it into multiple columns. - Remove non-transaction rows. Statement headers, page numbers, account summaries, opening/closing balance rows, and bank disclaimers must be removed. Only transaction data should remain.
Xero silently skips rows it cannot parse rather than rejecting the entire file. This means a partially formatted CSV may appear to import successfully but is actually missing transactions. Always compare the number of imported transactions against your source statement to catch missing rows.
To understand which CSV column layouts work best across different accounting platforms, see our article on bank statement CSV format for accounting software.
Step 3: Import into Xero via the Banking Tab
Here is the step-by-step process for importing a CSV bank statement into Xero (as of early 2026). These steps align with Xero's official documentation on importing bank statements, though we have added troubleshooting detail from our own testing. If you also work with QuickBooks, we have a parallel guide for importing bank statements into QuickBooks.
If the bank account already exists in Xero:
- Log in to your Xero organisation and navigate to Accounting > Bank Accounts (or click Banking in the top navigation bar, depending on your Xero edition).
- Click on the bank account you want to import transactions into.
- Click the Import a Statement button (typically found in the upper-right area of the account view, or under the account's options menu).
- Click Browse and select your CSV file, or drag and drop it into the upload area.
- Xero displays a preview of the transactions it parsed from the file. Review the preview carefully:
- Check that dates are interpreted correctly (not swapped between day and month).
- Verify that amounts have the correct sign (debits negative, credits positive).
- Confirm that descriptions and payees are populated.
- If everything looks correct, click Import.
- The transactions appear in the Bank Statement tab of the account, ready for reconciliation.
If the bank account does not yet exist in Xero:
- Navigate to Accounting > Bank Accounts.
- Click Add Bank Account.
- Search for your bank. If a direct feed is not available (or you do not want to connect one), click I'll add my accounts manually or skip the direct connection setup.
- Enter the account name, type, account number, and currency.
- Once the account is created, follow the import steps above.
After importing, switch to the Reconcile tab for the bank account. Xero will try to match imported transactions with existing invoices, bills, and other records. Matching transactions are highlighted in green. For unmatched transactions, you can create new entries, assign categories, or set up bank rules to automate future categorisation.
For full details on Xero's accepted CSV column layout and file requirements, refer to Xero's official guide on CSV file formatting for bank statement imports.
Regional Date Formats: A Critical Detail
This is where Xero imports go wrong most often, and it is particularly relevant because Xero has a large user base across multiple regions with different date conventions.
Xero's CSV import interprets dates based on the regional settings of your Xero organisation, which you set when you first created the organisation. The date format is not something you select during import — Xero applies it automatically based on your organisation's country.
| Region | Date Format | Example for March 10, 2026 |
|---|---|---|
| United States | MM/DD/YYYY | 03/10/2026 |
| United Kingdom | DD/MM/YYYY | 10/03/2026 |
| Australia | DD/MM/YYYY | 10/03/2026 |
| New Zealand | DD/MM/YYYY | 10/03/2026 |
| Canada | DD/MM/YYYY or MM/DD/YYYY | Depends on organisation settings |
The danger is ambiguity. A date like 03/10/2026 could mean March 10 or October 3, depending on your Xero region. Xero will not warn you if it interprets the date differently from what you intended — it will simply import the transaction with the wrong date.
How to Check Your Xero Organisation's Date Format
- Go to Settings > Organisation Settings in Xero.
- Look at the Country and Financial Year End fields. The country determines the default date format.
- Alternatively, look at how existing transactions display dates in the bank feed — that is the format Xero expects.
Converting Between Date Formats
If your bank statement PDF was issued by a US bank but your Xero organisation is set to a UK/AU/NZ region (or vice versa), you need to convert the dates in your CSV before importing.
In a spreadsheet, you can use:
- US to UK/AU/NZ: Rearrange from
MM/DD/YYYYtoDD/MM/YYYY - UK/AU/NZ to US: Rearrange from
DD/MM/YYYYtoMM/DD/YYYY
Be careful with spreadsheet date functions — they may interpret the original date incorrectly based on your system locale. The safest approach is to treat dates as text strings and use string manipulation (e.g., =MID(A2,4,2)&"/"&LEFT(A2,2)&"/"&RIGHT(A2,4)) to swap the day and month positions.
If you manage Xero organisations across multiple countries — a common scenario for accounting firms with international clients — you must check the date format for each organisation individually. A CSV that imports correctly into a US-region Xero organisation will import with wrong dates into a UK-region organisation.
Common Xero Import Errors and How to Fix Them
These are the most frequent errors encountered when importing bank statement CSVs into Xero.
"Unable to read the file" or "File format not supported"
Cause: The CSV file uses a non-standard encoding, has a BOM (Byte Order Mark) at the beginning, or was saved with a file extension other than .csv.
Fix: Re-save the file in a text editor as UTF-8 without BOM. Ensure the file extension is .csv (not .txt or .xlsx). Verify that the delimiter is a comma — some European locale spreadsheet applications export CSV files with semicolons as delimiters.
"No transactions found in the file"
Cause: Xero could not parse any rows as valid transactions. Common reasons include missing or misspelled column headers, an empty Amount column, or a date column with values Xero cannot interpret.
Fix: Open the CSV in a text editor and verify:
- The first row contains headers that match Xero's expected names exactly (
Date,Amount, etc.). - Every data row has a value in both the Date and Amount columns.
- Dates use the correct format for your Xero region.
Dates importing incorrectly (day and month swapped)
Cause: The CSV uses a date format that does not match your Xero organisation's regional setting. For example, 03/10/2026 is read as October 3 instead of March 10 (or vice versa).
Fix: Check your Xero organisation's country setting (Settings > Organisation Settings) and reformat the CSV dates accordingly. See the Regional Date Formats section above.
Missing transactions after import
Cause: Xero silently skips rows it cannot parse — rows with blank dates, non-numeric amounts, or formatting issues. Unlike some accounting software that rejects the entire file on error, Xero imports what it can and drops the rest.
Fix: After importing, compare the transaction count in Xero against the number of data rows in your CSV (excluding the header). If numbers do not match, open the CSV in a text editor and look for rows with:
- Blank or malformed dates
- Amount fields containing text, currency symbols, or unusual characters
- Extra commas creating phantom columns
Duplicate transactions after import
Cause: You imported a CSV covering a date range that overlaps with transactions already in Xero — either from a prior import or from a direct bank feed.
Fix: Xero has some built-in duplicate detection, but it is not comprehensive. Before importing, check the existing transaction dates in the bank account to identify any overlap. If duplicates slip through, you can delete them individually from the bank statement lines before reconciling.
"The statement you imported is out of sequence"
Cause: Xero expects bank statement imports to be chronologically sequential. If you import a statement for March when the most recent statement in Xero ends in January (skipping February), Xero may flag this warning.
Fix: Import statements in chronological order. If you have a gap, either import the missing period first or confirm in Xero that you want to proceed with the out-of-sequence import.
Comparing Conversion Methods
Here is how the main PDF-to-CSV conversion approaches compare for Xero bank statement imports:
| Method | Speed | Accuracy | Privacy | Xero Formatting | Cost |
|---|---|---|---|---|---|
| Manual copy-paste | Slow (15-30 min/statement) | Moderate — prone to transcription errors | Full control — data stays with you | Manual — you format columns yourself | Free (your time) |
| Cloud converter | Fast (seconds) | Generally high for digital PDFs | Data uploaded to third-party servers | Varies — may need reformatting | Free tiers available; paid plans vary |
| Open-source tools | Moderate (setup required) | Variable — depends on PDF structure | Local processing — data stays on your machine | Manual — you format the output | Free |
| On-device converter | Fast (seconds) | High for supported bank formats | Local processing — no data uploads | May need minor adjustments for Xero headers | Free tier or paid subscription |
The right choice depends on your priorities. If privacy and compliance are primary concerns, local processing (open-source or on-device) eliminates the risk of third-party data exposure. If speed and convenience matter most, cloud converters are hard to beat. If cost is the overriding factor, manual copy-paste and open-source tools are free in monetary terms, though they cost time.
LocalExtract Limitations
LocalExtract handles the PDF-to-CSV conversion step, but it has limitations worth noting:
- No direct Xero integration. LocalExtract outputs CSV files that you then import into Xero manually. It does not connect to Xero's API or push transactions directly.
- No OFX/QIF export. LocalExtract currently outputs CSV and JSON. If you need OFX or QIF format for Xero, you will need a different tool or a separate format conversion step.
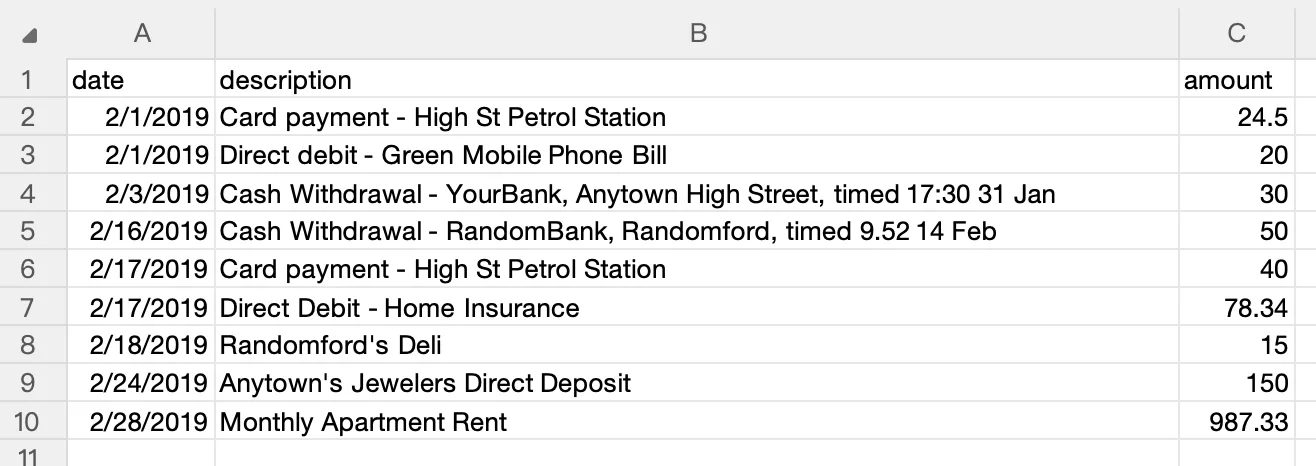
- Xero header formatting. LocalExtract's default CSV output uses its own column headers (e.g.,
date,description,amount). You may need to rename headers to match Xero's expected names (Date,Amount,Description) or adjust column order. This is a quick edit in any spreadsheet application or text editor. - Bank coverage is not universal. LocalExtract works with many bank statement formats, but it does not support every bank worldwide. If it encounters a layout it cannot parse, extraction may be incomplete or inaccurate. Always verify the output against the original statement.
- OCR accuracy for scanned documents. For scanned (image-based) PDFs, LocalExtract uses OCR to extract text. Accuracy depends on scan quality. Low-resolution, skewed, or heavily watermarked scans may produce errors that require manual correction.
- Free tier is limited. The free tier processes 10 pages lifetime — enough for evaluation but not for ongoing production use.
Privacy Considerations for Financial Data
Bank statements contain sensitive financial data: account numbers, routing numbers (or sort codes and BSBs in the UK and Australia), transaction histories, balances, and payee information. How you handle these documents during the conversion process has both ethical and legal dimensions.
The regulatory landscape varies by region, which is particularly relevant for Xero users since the platform has significant adoption across multiple jurisdictions:
- United States: The FTC Safeguards Rule requires financial service providers to implement safeguards for customer information. The Gramm-Leach-Bliley Act imposes additional obligations.
- United Kingdom: The UK GDPR and Data Protection Act 2018 classify financial data as personal data subject to strict processing requirements.
- Australia: The Australian Privacy Act 1988 and the Australian Privacy Principles (APPs) govern the handling of personal information, including financial records.
- New Zealand: The Privacy Act 2020 establishes information privacy principles for handling personal data.
When you upload a client's bank statement to a cloud-based converter, that data is transmitted to and processed on a third-party server. Depending on the service's data retention policies, the file contents may be stored for hours, days, or indefinitely. The server may be in a different jurisdiction from your client, adding cross-border data transfer considerations.
On-device converters process the PDF locally on your computer. No data is transmitted over a network, and no third party has access to the file contents. For professionals who handle client financial data across multiple jurisdictions, this approach simplifies compliance by removing third-party data processing from the equation entirely. We explore this tradeoff in more detail in our cloud vs. local bank statement converter comparison.
LocalExtract processes all files on-device. No data is uploaded, no internet connection is required during processing, and no financial data is stored outside of the files you control on your own machine.
Alternative Import Formats: OFX and QIF
CSV is the most common import format for Xero, but Xero also supports two other formats that are worth knowing about.
OFX (Open Financial Exchange)
OFX is a standardised financial data format that includes transaction data plus metadata such as account identifiers, bank routing information, and statement date ranges. It is the same standard behind QFX (Quicken) and QBO (QuickBooks) files.
When to use OFX: If your bank provides statement downloads in OFX format, or if your conversion tool outputs OFX, it can be a cleaner import path than CSV. OFX files carry structured metadata that eliminates column-mapping ambiguity, and Xero handles them natively.
Limitation: Not all PDF-to-CSV converters output OFX format. Tools like MoneyThumb specialise in PDF-to-OFX conversion if that format is a priority for your workflow.
QIF (Quicken Interchange Format)
QIF is an older format originally developed for Quicken. Xero supports QIF import, but the format is showing its age — it lacks some of the metadata richness of OFX and has inconsistencies across implementations.
When to use QIF: Only if you already have data in QIF format from another system. There is no practical reason to choose QIF over CSV or OFX for new bank statement imports into Xero.
For most Xero users importing bank statement data, CSV is the right format. It is the simplest to create, the easiest to inspect and correct in a spreadsheet, and every PDF conversion tool supports it. OFX is a good alternative if available. QIF should be reserved for legacy data migrations.
Looking Ahead
Xero continues to expand its direct bank feed partnerships, which will reduce the need for manual CSV imports over time. However, CSV import is unlikely to disappear as a workflow. Historical statement imports, banks without feed support, and cross-border scenarios will continue to require file-based ingestion. On the conversion side, on-device OCR models are improving rapidly — accuracy on scanned statements that required manual correction a year ago is now often reliable enough for unattended batch processing. We expect the gap between cloud and local converter accuracy to narrow further through 2026 and 2027, making privacy-preserving local processing a practical default rather than a tradeoff.
The core workflow for getting PDF bank statements into Xero has not changed in years: convert to CSV, match Xero's column and date format expectations, and import through the Banking tab. What has changed is how efficiently and securely you can handle the conversion step. Whether you use manual copy-paste, open-source tools, cloud services, or an on-device converter like LocalExtract, the formatting rules and import process described in this guide remain the same. Get the date format right for your Xero region, verify your CSV in a text editor before importing, and always compare transaction counts after import to catch silently skipped rows.
FAQ
Can I import a PDF bank statement directly into Xero? No. Xero does not support PDF imports. You must first convert the bank statement PDF to a supported format — CSV, OFX, or QIF. This guide focuses on the CSV path, which is the most universal and the easiest to troubleshoot.
What columns does Xero require in a bank statement CSV?
At minimum, Xero requires Date and Amount columns with matching headers. In practice, you should also include Description or Payee so transactions have meaningful labels during reconciliation. Xero also recognises optional Reference and Cheque Number columns. The headers must match these names exactly.
What date format does Xero expect in CSV imports? It depends on your Xero organisation's regional settings. US-based organisations expect MM/DD/YYYY. UK, Australian, and New Zealand organisations expect DD/MM/YYYY. Check your organisation's country under Settings > Organisation Settings. Using the wrong date format is the most common cause of import errors — and Xero will not always warn you, it may simply interpret dates incorrectly.
How do I handle bank statements from a different country than my Xero region? If your bank statement uses a different date format than your Xero organisation expects, you need to convert the dates in the CSV before importing. Treat the dates as text strings and use string manipulation to swap day and month positions. Do not rely on spreadsheet date functions, as they may misinterpret the original format based on your system locale.
Does Xero detect duplicate transactions during import? Xero has basic duplicate detection that flags transactions with matching dates and amounts. However, it is not comprehensive — transactions with slightly different descriptions or amounts may slip through. Before importing, check the date range of existing transactions in the bank account to avoid overlap. If duplicates are imported, delete them from the bank statement lines before reconciling.
What if my bank statement is a scanned image rather than a digital PDF? Scanned statements require OCR (Optical Character Recognition) before the data can be extracted. Some converters, including LocalExtract, include built-in OCR for scanned documents. Accuracy depends on scan quality — high-resolution, straight scans convert well, while low-quality or skewed scans may produce errors that need manual correction. Always verify OCR output against the original statement before importing into Xero.
Can I import bank statements for multiple accounts in one CSV? No. Each CSV import in Xero is associated with a single bank account. If you have statements from multiple accounts, create a separate CSV for each account and import them individually into the corresponding bank accounts in Xero.
Is LocalExtract free? LocalExtract offers a free tier of 10 pages (lifetime), which is enough to evaluate the tool with a few statements. For ongoing use, the Pro plan is $10/month or $60/year. Both tiers process files entirely on your device with no data uploads.
Disclosure: This article is published by the LocalExtract team. LocalExtract converts bank statement PDFs to CSV and Excel entirely on your device — no uploads, no cloud processing, no third-party access. We covered Xero's import process, multiple conversion methods, and alternative tools to help you find the right workflow for your practice. Download free for Mac or Windows.
LocalExtract Team
We build LocalExtract, an on-device bank statement converter for macOS and Windows. Our team includes software engineers and financial workflows specialists focused on private, accurate PDF data extraction. Questions or corrections? Contact us or see our editorial policy.
Related Articles
Ready to convert your bank statements?
100% on-device. Your documents never leave your computer.
By downloading, you agree to our Terms and Privacy Policy.